
Manually adding partitions and Archiver roles
2022-07-13Last updated
To set up your SV-7000E or SV-300E All-in-One appliance for the first time, you must manually create partitions. You can also manually add Archiver roles to an appliance that already has data on it, so the data is not lost.
Before you begin
What you should know
Procedure
-
If the appliance already has cameras enrolled, video archived, or access
control data, do the following:
- Back up the Directory database using the SV Control Panel.
- Generate a Camera configuration report to take a snapshot of your current camera configuration. See "Viewing camera settings" in the Security Center User Guide.
-
Create the volumes that you need for the Archiver roles you plan
to create on the appliance.
- On appliances that have SAN storage, such as SV-7000E series appliances, create a logical unit number (LUN) for each Archiver role.
- On appliances that have internal storage drives, such as SV-1000E, SV-2000E, and SV-4000E, use the Windows Disk Management tool to set up the volumes.
-
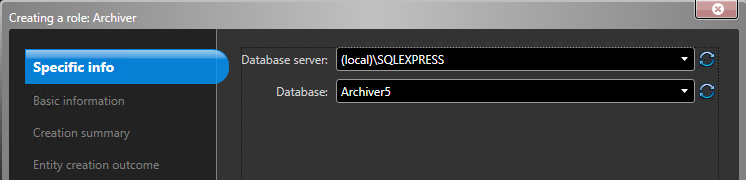
In Security Center, create an Archiver role:
-
On the Specific info page, enter a name for the
Archiver role database and
click Next.
Each Archiver role must have a dedicated database.
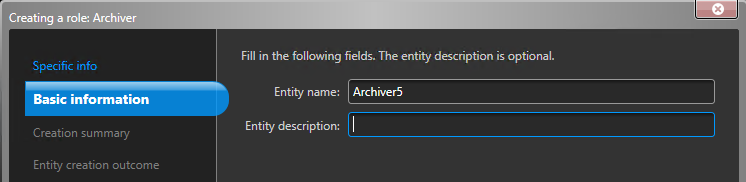
-
In the Basic information section, enter the
Entity name and click
Next.
It is best practice for the Archiver role database name to match the entity name.
-
On the Specific info page, enter a name for the
Archiver role database and
click Next.
-
Configure the Archiver role.
-
Click
 to expand the Server
section and select a NIC from the Network card
list.
All Archiver roles must use the same NIC.
to expand the Server
section and select a NIC from the Network card
list.
All Archiver roles must use the same NIC.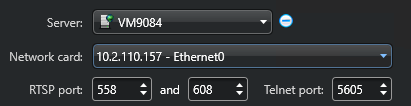
-
Click
- Repeat steps 3 and 4 to create each Archiver role.
-
Add your cameras to their designated Archiver role:
-
In the Entity browser, select the Archiver role that you
want to assign the camera to, and click Video
Unit (
 ).
).
-
In the Entity browser, select the Archiver role that you
want to assign the camera to, and click Video
Unit (